
Chunk 1: Learning Fast and Googling Well
On using HTML/CSS, Cloudfront, Certificate Manager, Route 53, Invalidation, and ChatGPT


Introduction
Welcome to the first challenge in this project. Conceptually, what's needed is quite simple: Host a static webpage (HTML/CSS) in S3 and distribute it through Cloudfront with HTTPS security.
That's until I started running into errors related to access and even with the webpage itself and practiced what is said in the book to be the most important skill for cloud engineers:
Most importantly, you will have demonstrated the number-one skill in a cloud engineer’s toolbox: the ability to learn fast and google well.
Building the webpage
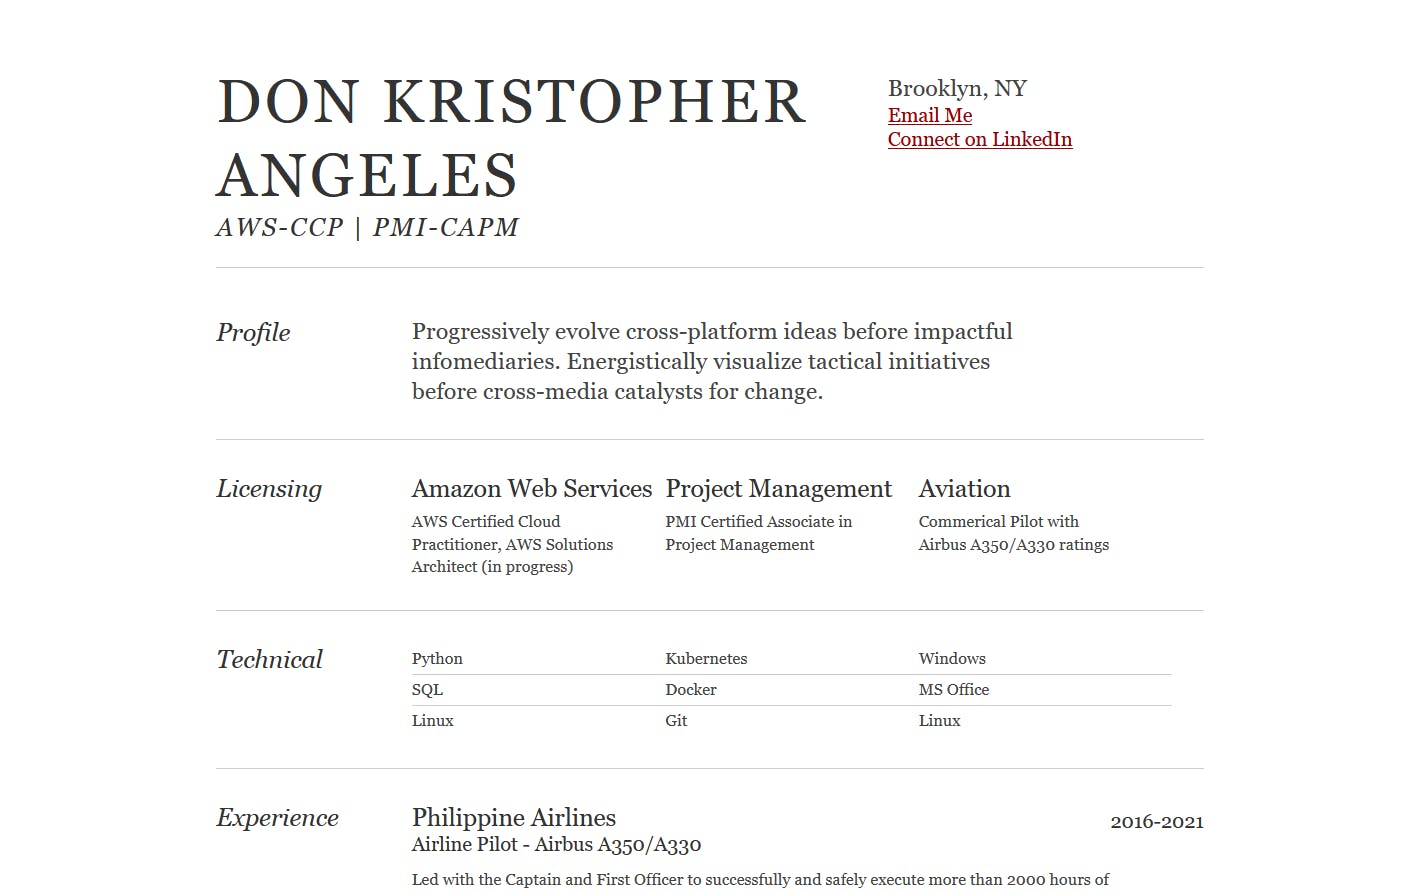
Resume templates can be found all over the internet and I contemplated whether I should try to create my own or use a template. I decided to save time instead since the focus at this point should be to get the website up and running.
Then I remembered, maybe I could try using ChatGPT to create a template for me.
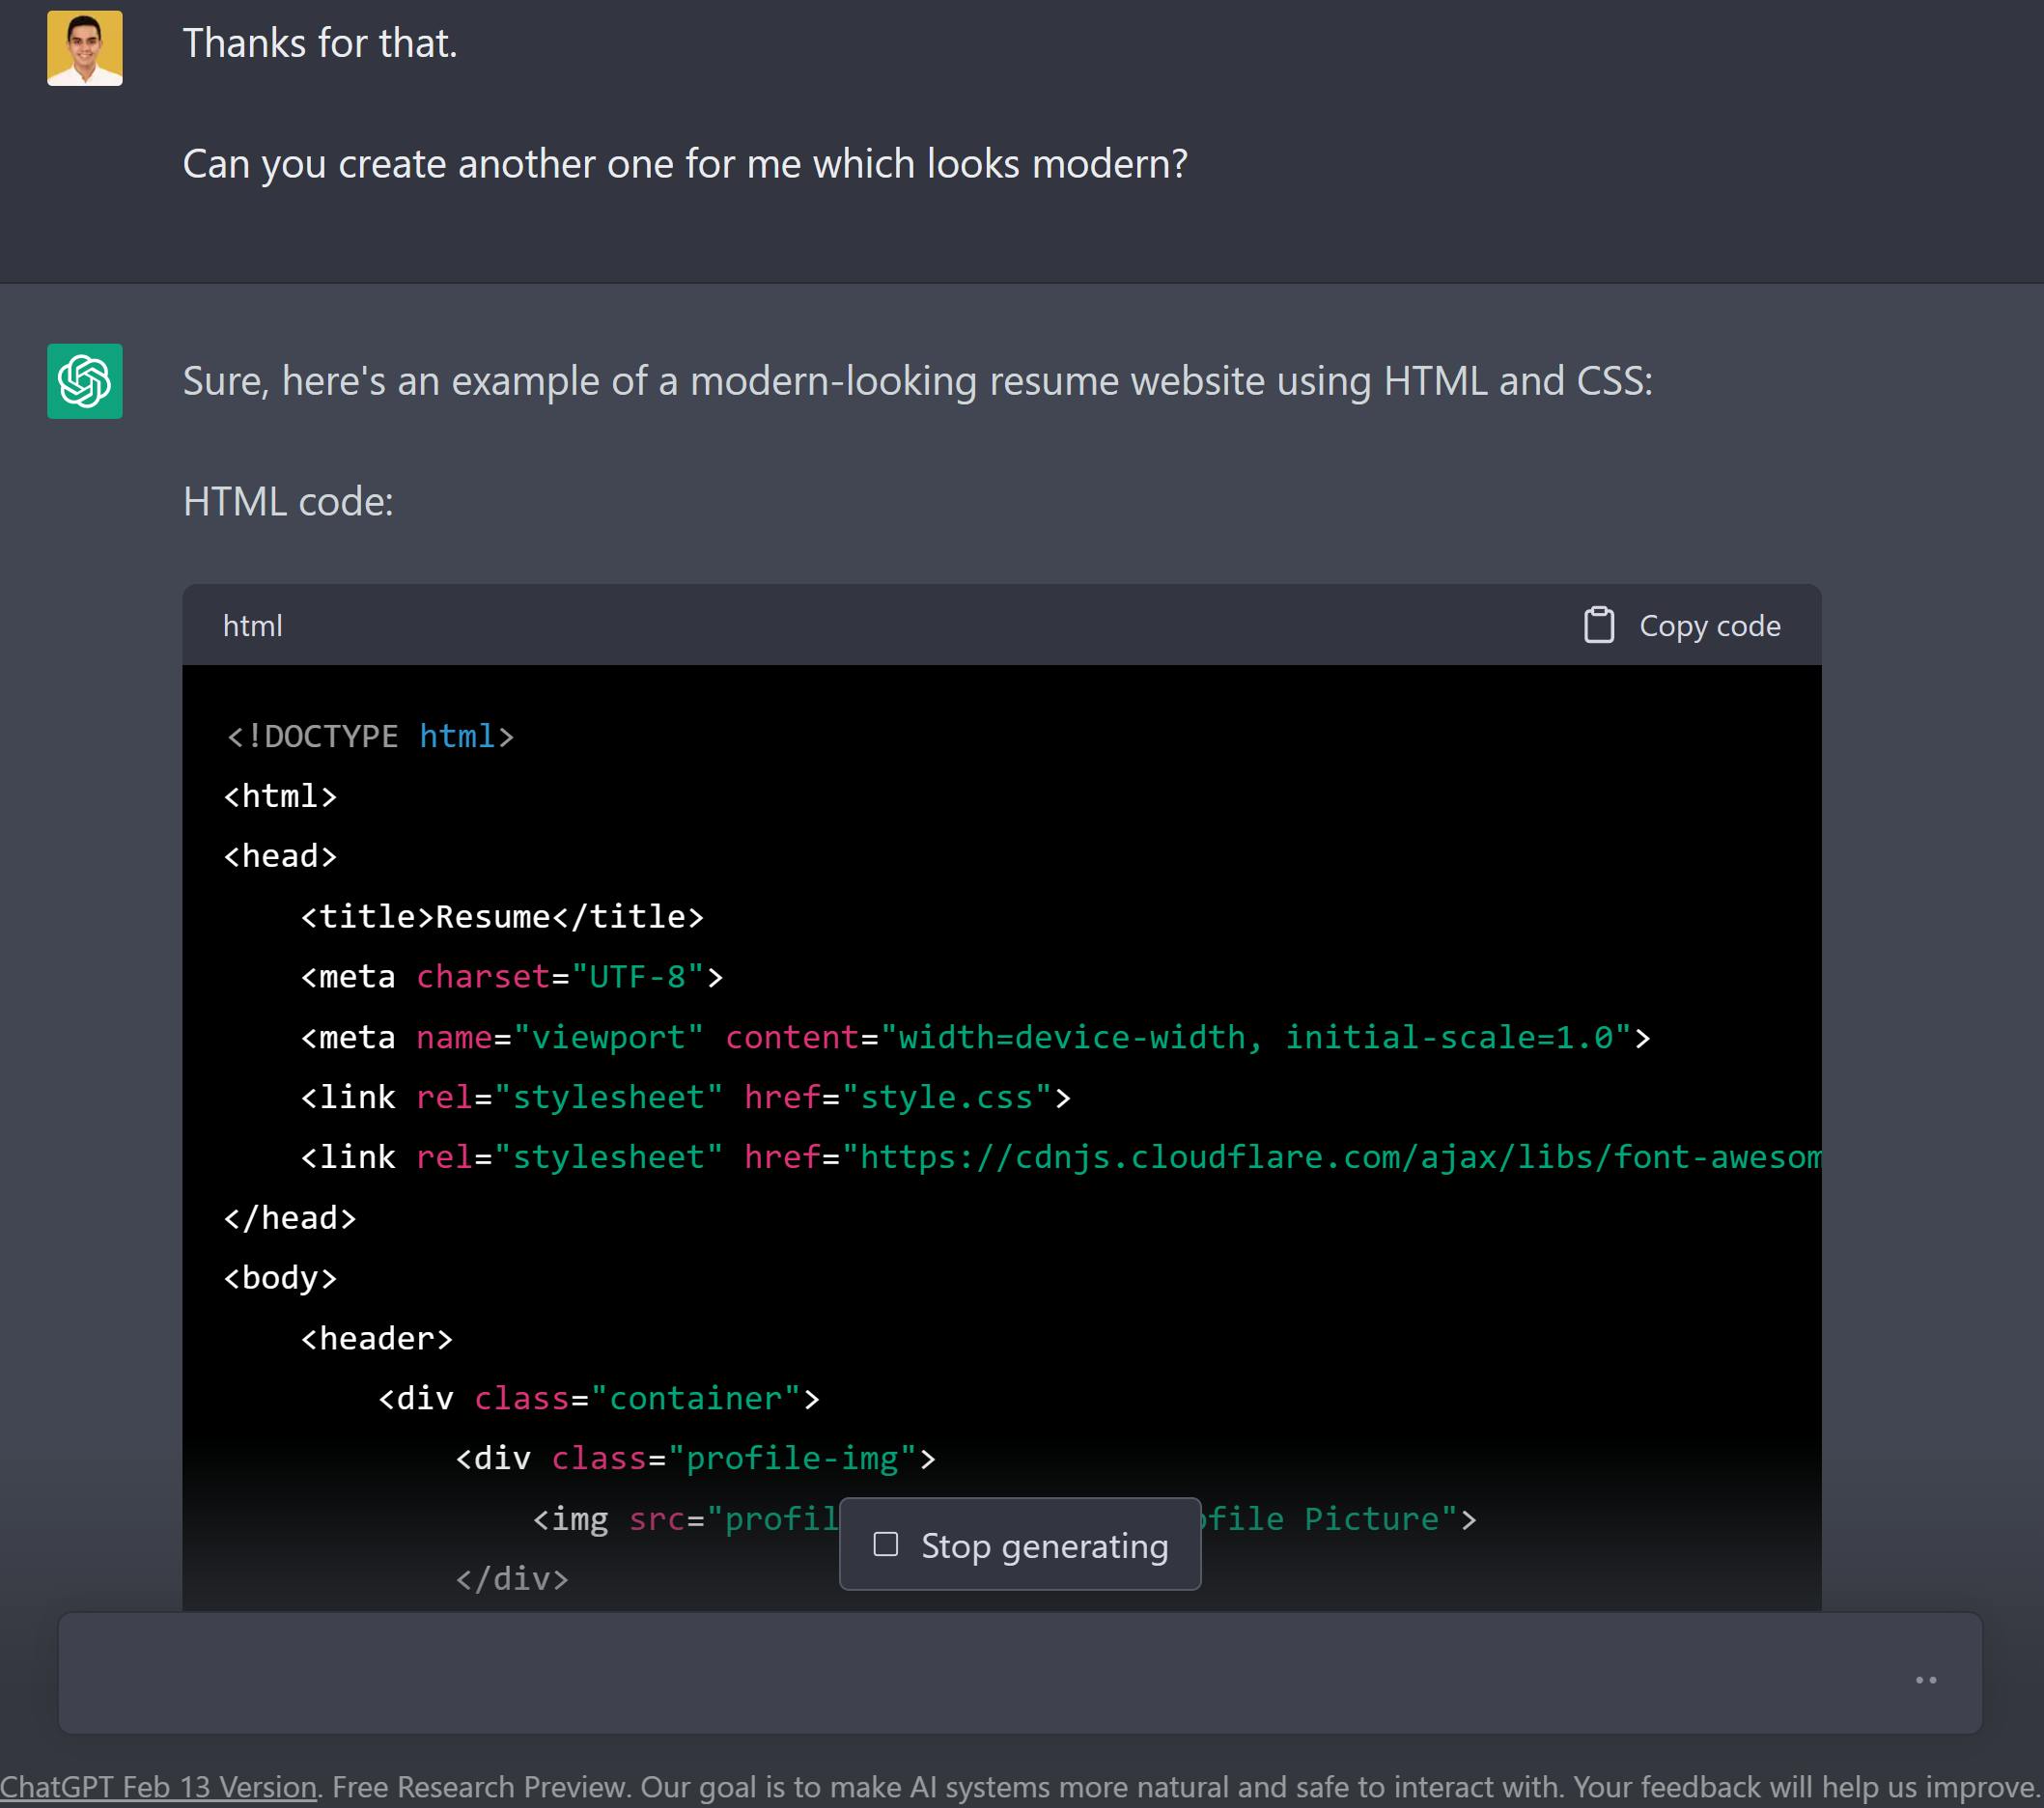
I was looking forward to working with the output but it was still something that needed a lot of customization to be workable. Thus, I decided to use a template made by Matt Brown which I found through Daniel Singletary
Once I had the template, I just modified the content and then uploaded and configured itt onto my S3 bucket. Here's the AWS tutorial for that.
Out of curiosity, I tried using the CLI for that. If you'd like to explore that too here's the doc for setting up the CLI. Here are some of the commands I used:
#create a bucket
aws s3 mb s3://cloudresume-don --profile [profile name]

#upload files to bucket
aws s3 cp [directory of files to upload] s3://cloudresume-don --profile [profile name]

#set bucket to host static website
aws s3 website s3://cloudresume-don --index index.html --profile [name]
After this, bucket permissions will still have to be modified to allow public access to the bucket which I did using the console.
All is well when the webpage shows up when accessing the S3 endpoint.
Cloudfront Distribution, Route 53, and ACM
Now it was onto using Cloudfront to distribute access to my S3 bucket.
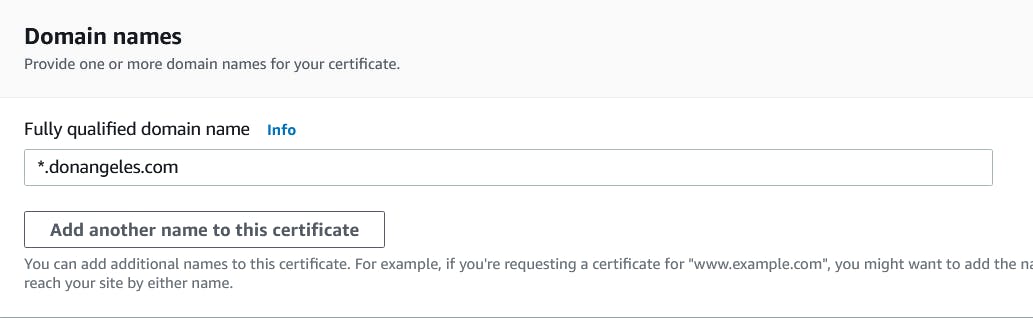
But before I could do that, I had to purchase and then setup my custom domain and did that through Route 53. Also, since HTTPS is required by the challenge, an SSL certificate had to be used and was made quite easily through Certificate Manager. (See section below if you'd like to use, "samplename .com" instead of the whole "www. samplename .com")
Once the certificate was requested, I clicked Create Records in Route 53 and voila, there they were granted.
Now it was all clear to create a Cloudfront distribution wherein once done, a Cloudfront domain was generated. That Cloudfront domain was used as a record in Route 53 to point to the Cloudfront domain. It was done!
Or so I thought:

Compared to the above, this page loaded much differently. Overlapping lines and all!
I thought, what could be wrong? It couldn't be my code since loading it through the S3 endpoint was proper. So it must be my settings which I suspected were not allowing access to my CSS resources.
This is when I practiced my Google skills and tried to find many different solutions involving different answers.
"Cloudfront denying access to CSS resources"
"How to allow access Cloudfront to access CSS"
"Static website working in S3 endpoint but not through Cloudfront"
I tried every setting and answer I could but to no avail! Alas, as life goes, I had to go for errands. But I still could not keep my mind off of it. I had to go on my phone and retry solutions and then I remembered that I could ask my good friend Mikyo for advice. He's an AWS TAM and with one description of the problem, he showed me that access was being denied to my CSS resource like I suspected.
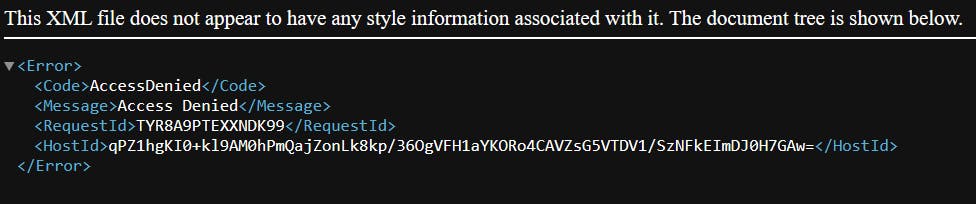
Once I got home, I investigated further and found:

There it is: Cloudfront was denying access to a resource with an HTTP only access.
So I simply downloaded that resource, uploaded it to my S3, and modified my code. That's supposed to make it work right? But still no! It was still showing the wrong page!
And thankfully, I read something about invalidation in Cloudfront while troubleshooting the earlier problem. Cloudfront was still caching my earlier webpage even though I renewed my resources in S3 and it could take up to 24 hours to clear that cache. To manually make CloudFront get the updated resources, invalidation had to be used. I created a /* invalidation. Be careful, this could cost money eventually!
Explore versioning if you expect to make frequent changes to your resources.
AND FINALLY, a working website!
A Few Additions
Access Using Only the Root Domain Name
I was accessing the website by typing the whole domain, "donangeles .com" which didn't feel quite intuitive. I wanted to be able to access it by typing only "donangeles .com"
So here comes Googling skills again! It took me some time to figure out how to do it but the solution I came up with was to include an "A route" in my Route 53 table to point to "*.donangeles .com" which I had created earlier.
Next was to delete the first certificate I made and request a new one with "donangeles .com" and "*.donangeles .com" in the new certificate.
Lastly, update Cloudfront settings to cover the root domain and the one with a wildcard:

This might not be a professional solution and there may be other more professional and efficient ways to do it. I thought that "*.donangeles .com" would automatically work with just the root domain. I suggest trying different settings as well and please let me know what works for you especially if this is an insecure way of doing it!
After changes are deployed, it should work!
Keep S3 Private but Accessible Through CloudFront
Thinking about security, I pondered that the S3 bucket should not be accessible anymore since the website is already being delivered through CloudFront. After doing more study and research, I found that it is beneficial to maintain access to CloudFront only with some of the reasons being (although not all are scoped in this project):
Able to take advantage of CF's ability to enforce SSL/TLS to ensure encryption for data in transit.
CF allows for the restriction of content delivery based on geographic locations.
Reduces access points cyber attacks since the S3 bucket endpoint is kept private.
Benefit of content caching which can reduce latency and improve load times for users.
So I decided to restrict public access to the S3 bucket although I need to research more about its full security benefits. To the very least, having fewer access points to resources adds security to a certain extent.
I found that the documentation has some resources for this and it was a matter of being brave enough to make changes to an already working site! Check this out:
Restricting Access to an Amazon S3 origin - Amazon CloudFront
The steps I did were:
Disable public access.
Modify permissions to allow CloudFront access to GetObject in S3.
Create an origin access control (OAC).
Modify the Origin access of the CloudFront distribution in the Origins tab to set for the create OAC.
Like the above, it didn't work straight away. I accessed both S3 endpoints and CloudFront domain using the given links but I was just being denied access.
I played around with the permissions and CloudFront settings once more only to find out that accessing the resources through path links works! It had to be "donangeles .com/index.html".
Of course, that wouldn't be intuitive and the solution was to just set the settings of the CF distribution to the root object which for me was index.html. Now, I'm confident that access to the bucket can only be made through CF!
Takeaways
The first chunk was a great learning experience because of all the troubleshooting I had to do. It was not as straightforward as I had imagined but quite thankful that it was. It's really through problems that the greatest lessons are made.
If there's one thing that I had to overcome in this Chunk was not to be afraid to make changes. Just make sure that there is a way to revert to a working product before doing so. I could have stopped with the working website but I wanted to be able to make it better even in just small ways and it was all worth the effort.
I can't wait to get started with the next chunk. Again, I'd love to hear from you and thank you!